
How can I connect SharePoint with Dynamics365?
SharePoint is the recommended storage method for Dynamics365. There are other methods however this can impact your Dynamics database size and become costly.

Applies to:
Dynamics 365 On-Prem
Dynamics 365 On-line
Setup your SharePoint Site
Before we start, you’ll need to have your SharePoint site setup and ready to go. One decision point here, is whether or not you wish to have your Dynamics documents available within the SharePoint site used by your team, if it already exists OR whether you want a seperate, isolated SharePoint site for your Dynamics Documents.
There are arguments either way - for the purpose of this post - it needs to be completed/setup prior to moving on to the next step.
Setup the Dynamics connection
Navigate to the environment setup page
https://admin.powerplatform.microsoft.com/Select your environment and pick Settings

Expand the Integrations section and select Document Management Settings

Next, pick the ‘Enable Server-Based SharePoint Integration’ option

Then walk through the wizard to enable the integration.
Page 1 - Click Next
Page 2 - Select On-Line and click Next
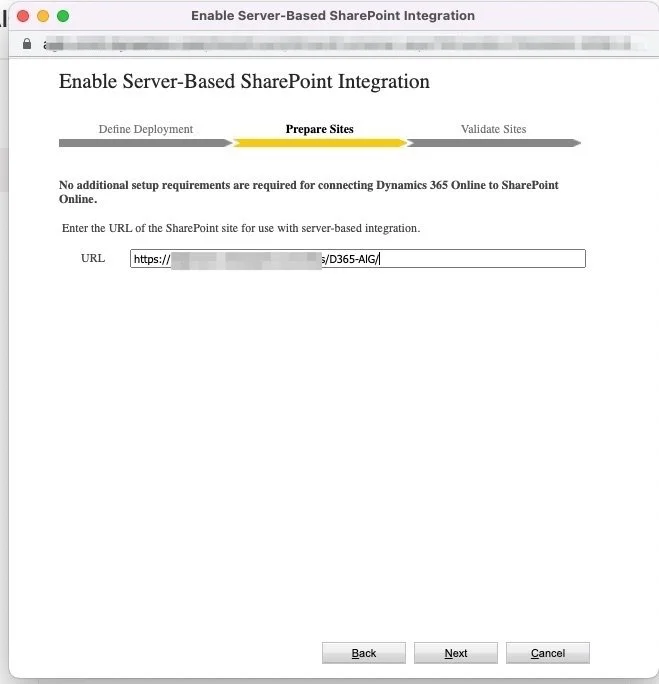
Page 3 - Enter the URL for the site and click Next
Page 4 - Verify that Dynamics has successfully connected to the SharePoint site and click Finish.
If the connection has failed, use the back button and verify/adjust your site URL. It must be the URL of the site - not the document list.


Setup the document storage for each table
Now that Dynamics knows where to store the documents, we need to setup which tables are going to be able to make use of it.
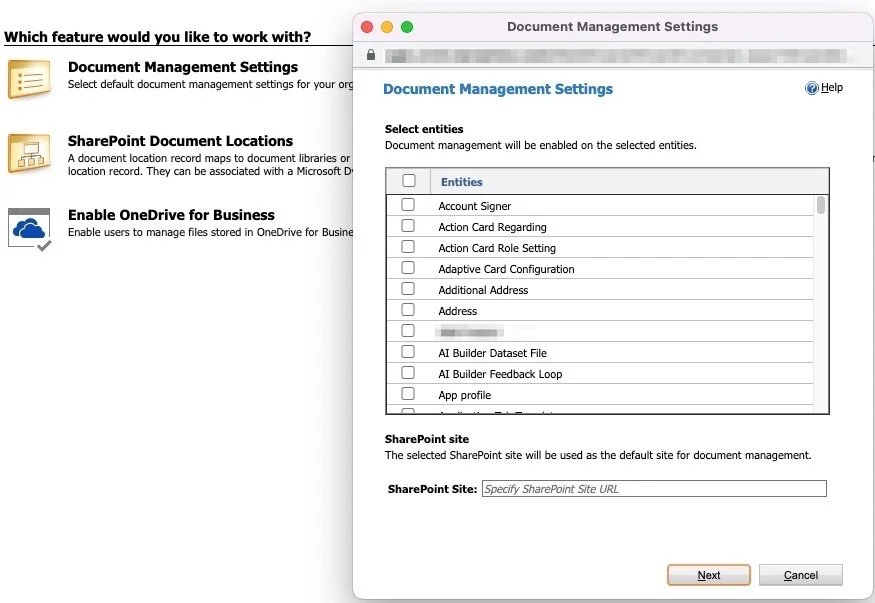
Back in the Document Setup, select the ‘Document Management Settings’
Scroll down the list and place a checkmark next to each table that will be capable of storing the documents.
When you’re done, paste in the same URL from above for the SharePoint location and press Next.
Next up, you have a decision to make. You can either have Dynamics store each table’s documents independently - each table will create a folder in the site you have selected - OR - you can elect to have the tables store their folders UNDER the related Account or Contact.
For example;
ACCOUNTS
-Business Name Account
-Other Business Account
-Third Business Account
CONTACTS
-Tim Smith
-Mark Donaldson
-Suzy Allan
CASES
-Case2948759
-Case298458
-Case47875
ACCOUNTS
-Business Name Account
--Tim Smith
—-Case2948759
-Other Business Account
--Mark Donaldson
—-Case298458
-Third Business Account
--Suzy Allan
—-Case47875

On the last page, you’ll see the implementation status.

NOTE: You will not see any document folders in SharePoint until your user(s) have visited the record and opened the FILES tab. This is the trigger for Dynamics to go make the folder in SharePoint for the user.

Photo by Element5 Digital: https://www.pexels.com/photo/gray-steel-file-cabinet-1370294/
Related Content: